Web Test Tutorial - Part 2
Zur Navigation springen
Zur Suche springen
Inhaltsverzeichnis
Preconditions[Bearbeiten]
- Open the test suite of tutorial 1
Subdivision of the action block login[Bearbeiten]
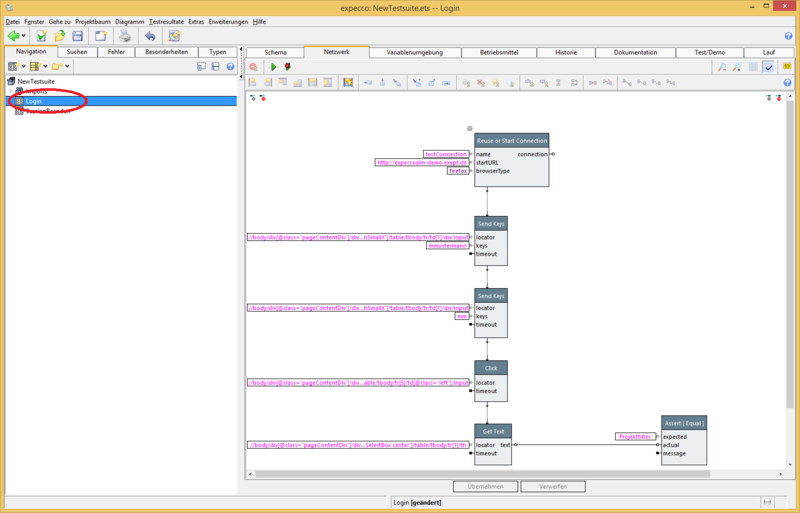
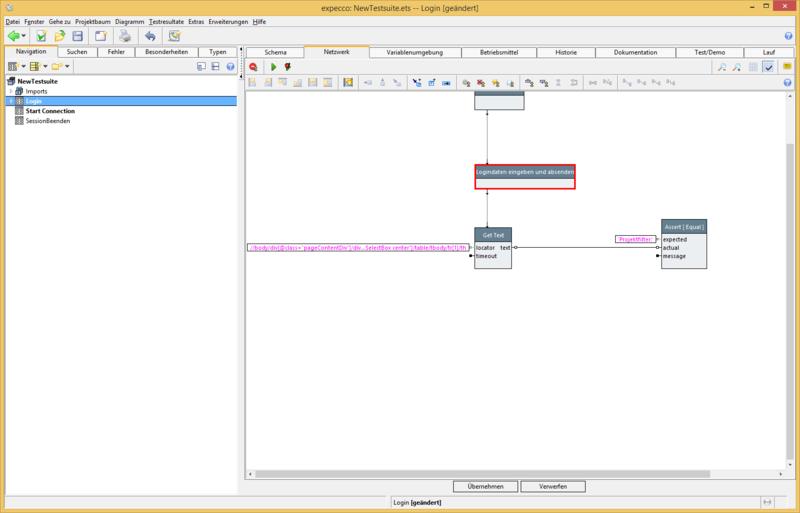
- Open action block Login
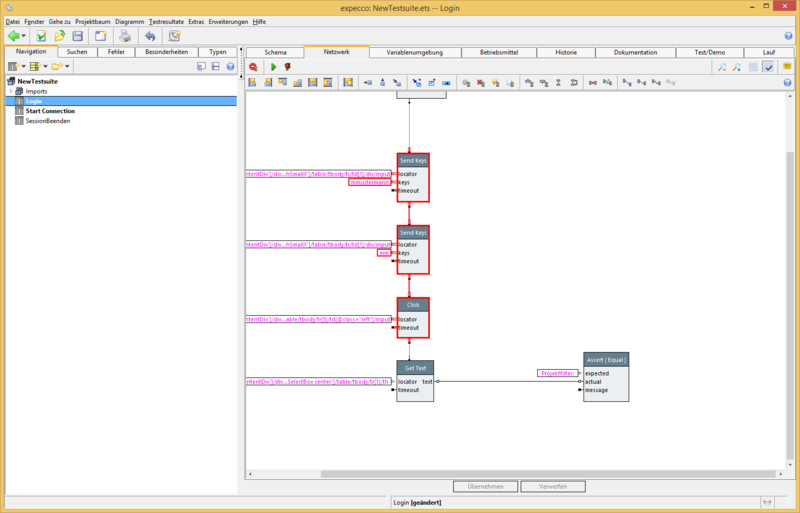
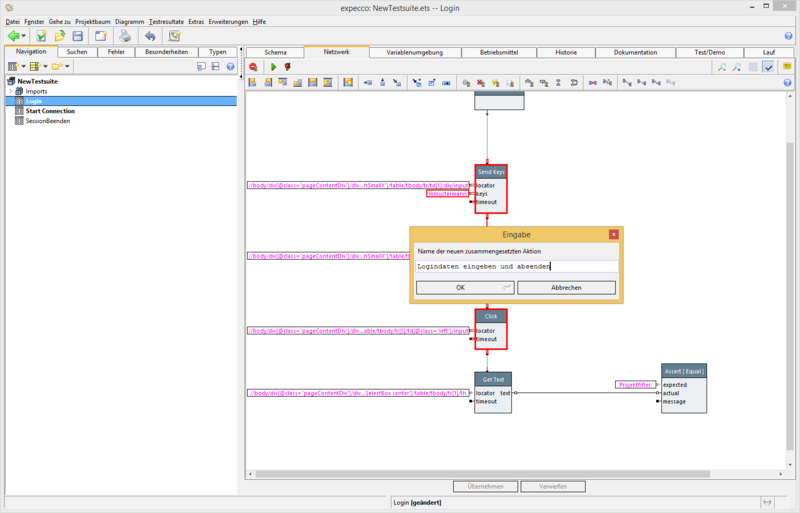
- Create a new compound block
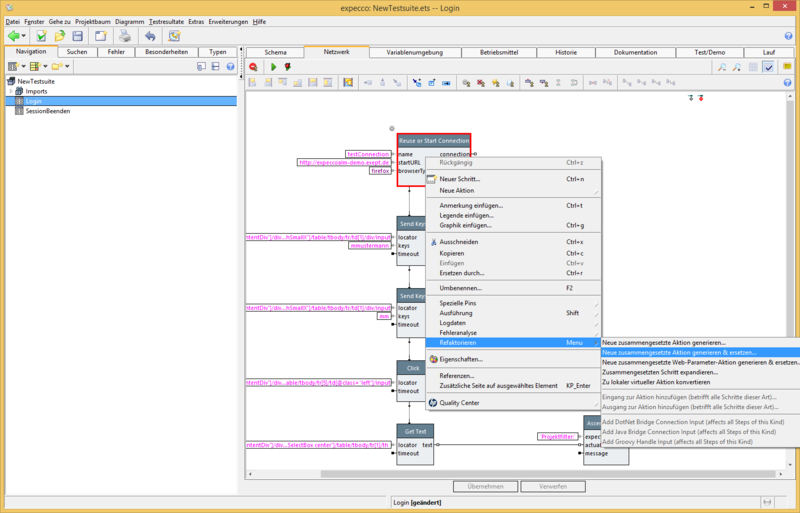
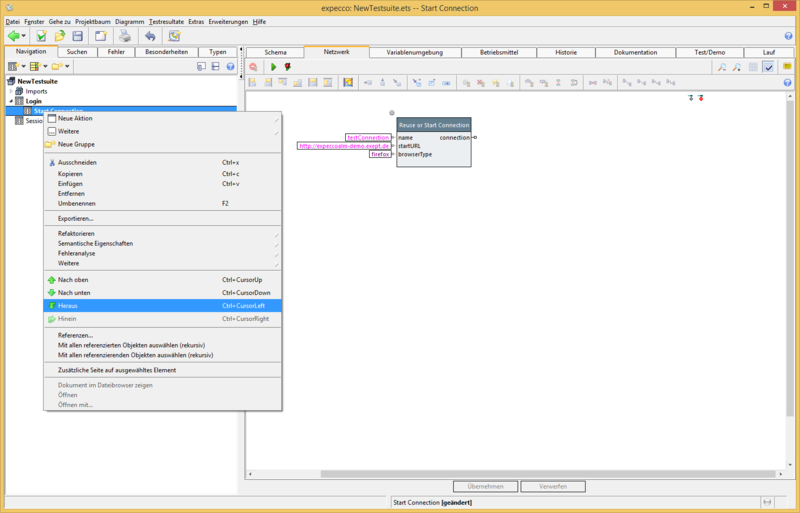
- Right click on "Reuse or Start Connection" block
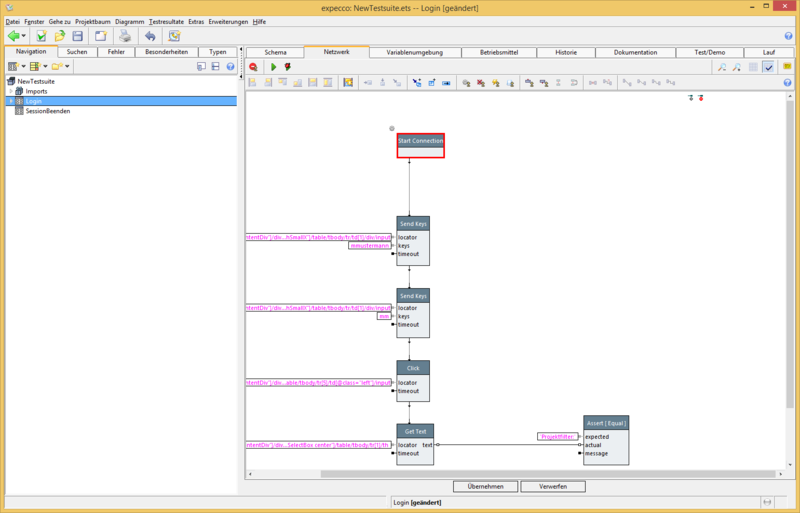
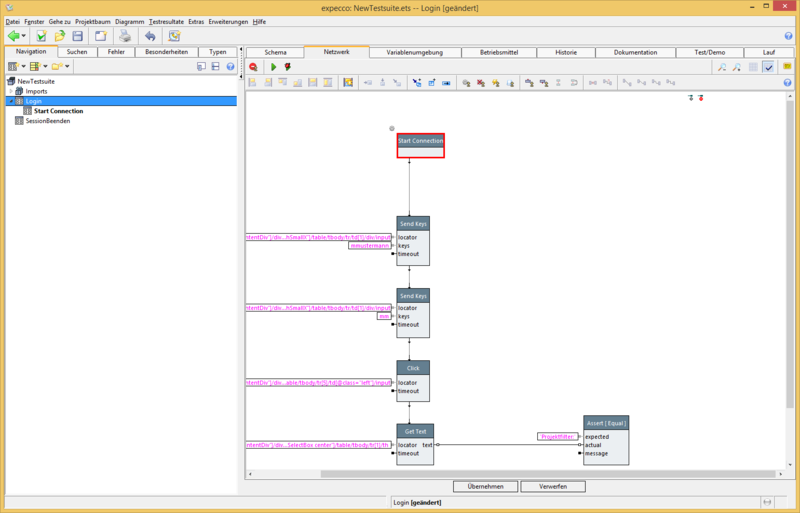
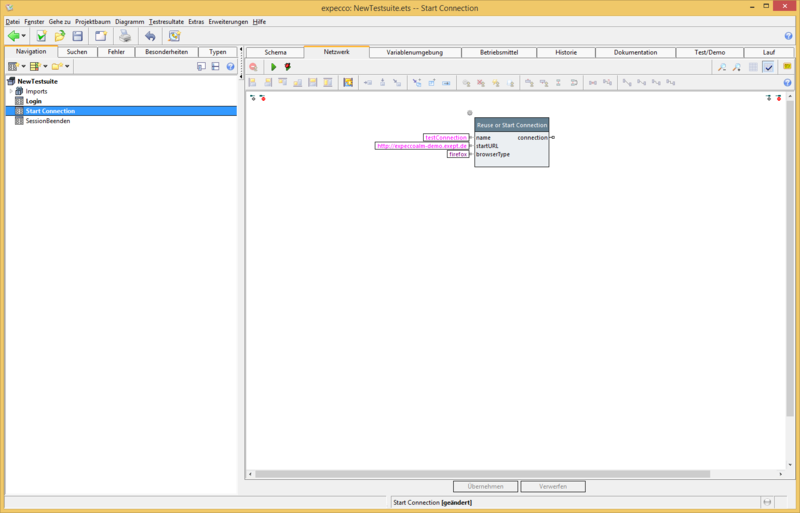
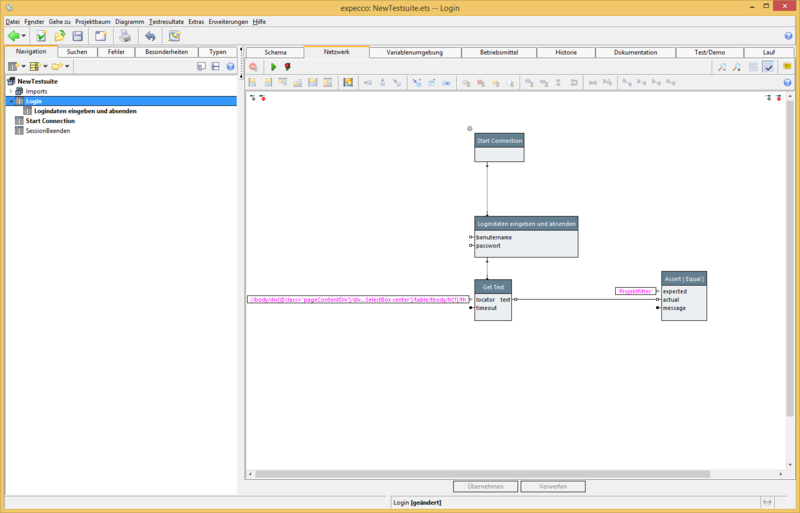
- Move action block "Start Connection" up one level
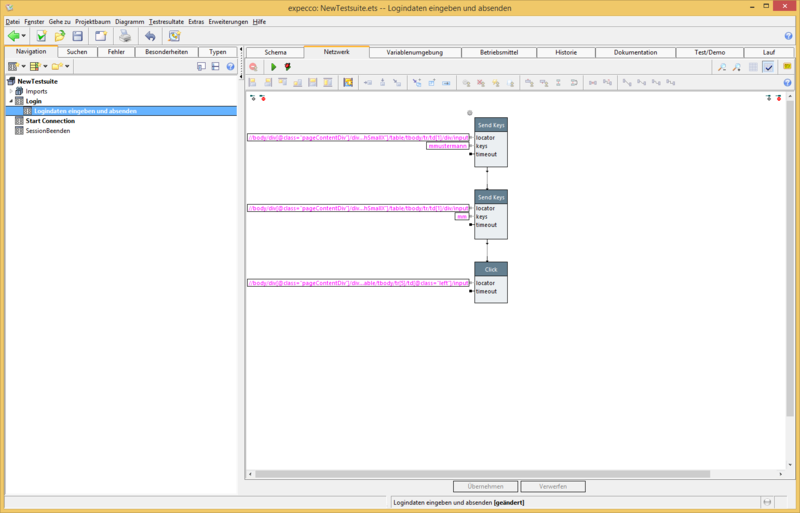
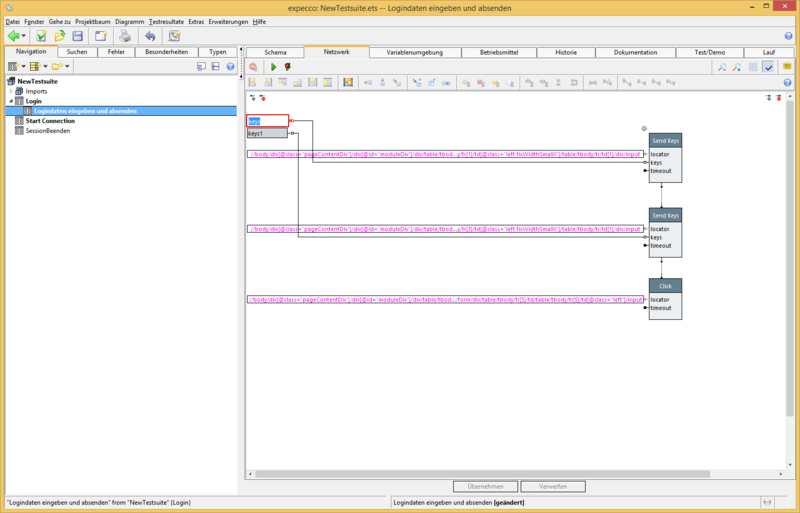
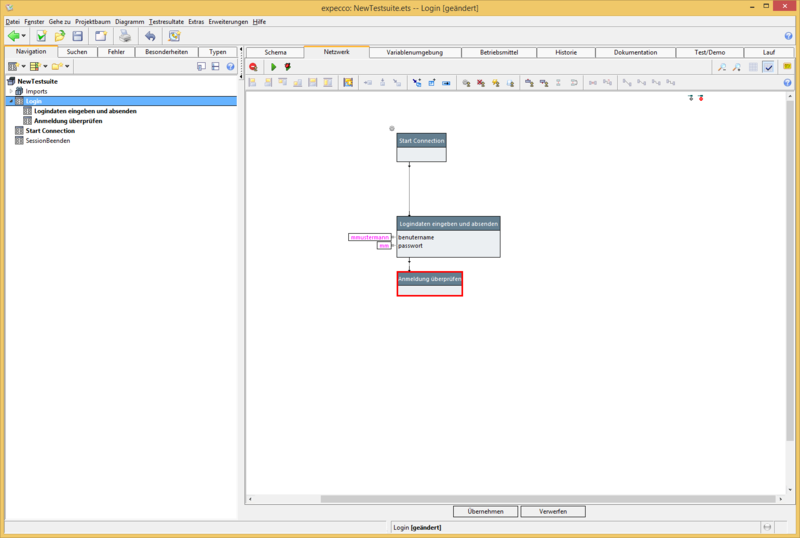
- Enter login data and move down
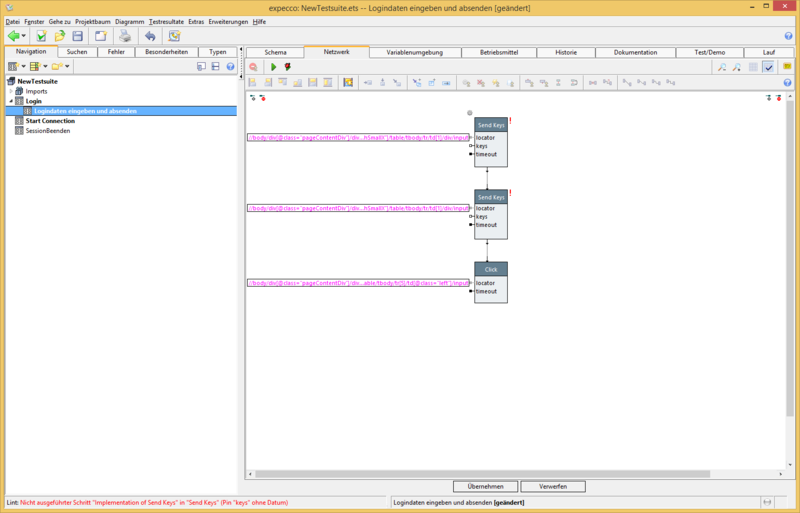
- Assign parameters to action block
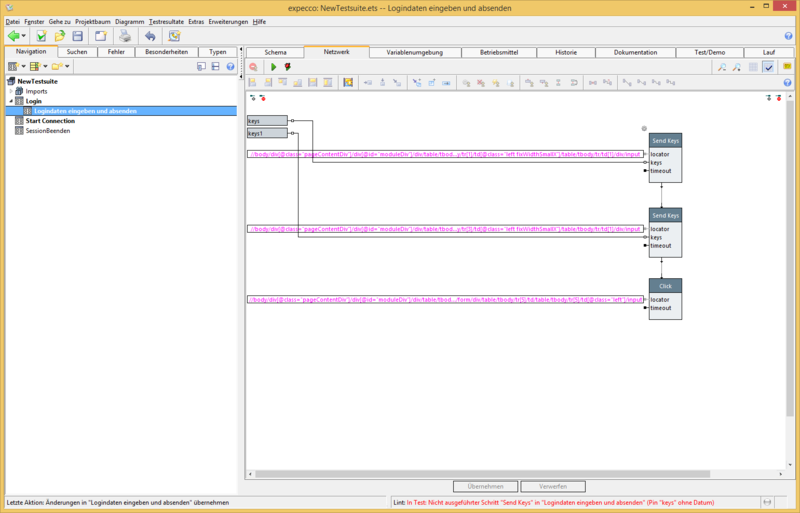
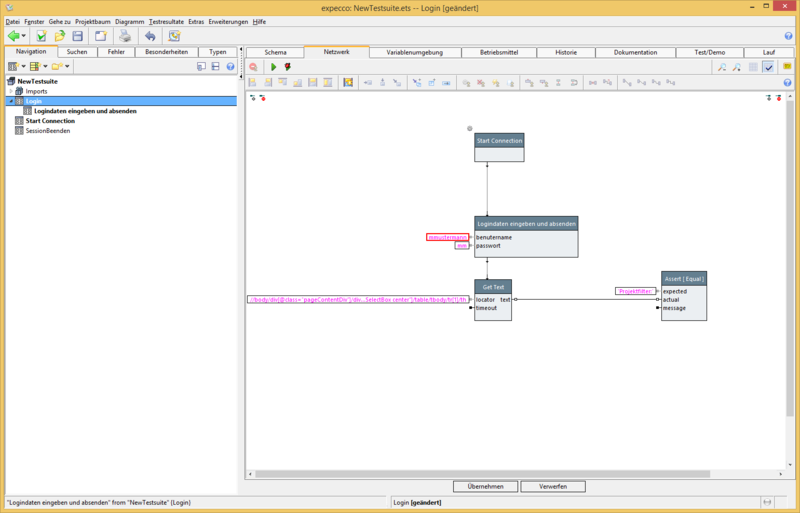
- Delete user name and password, connect to parameters, rename parameters
- Now the parameters of the "Enter login data..." block are visible in the "Login" block.. Fill these with values.
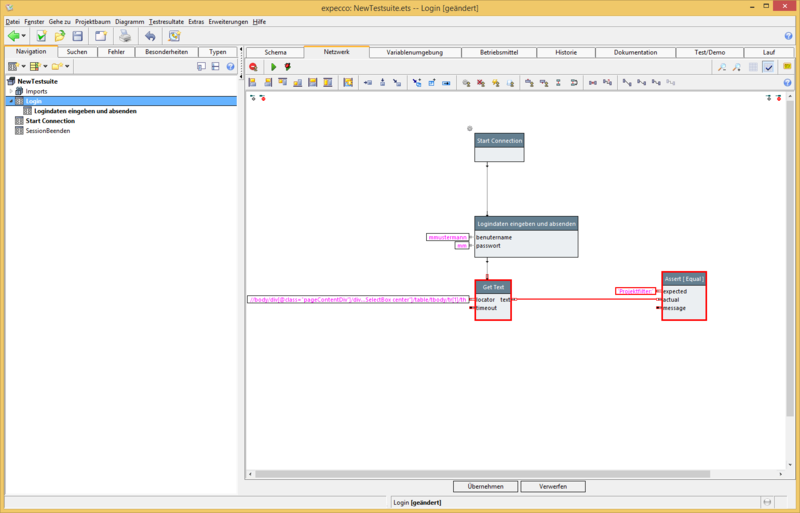
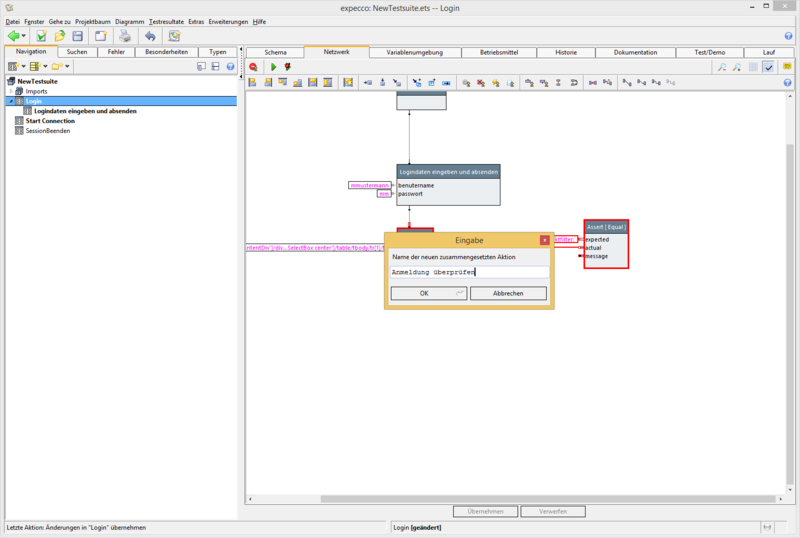
- Create a compound action block "Check login"
Create a Test Plan[Bearbeiten]
- Delete action block "Start login"
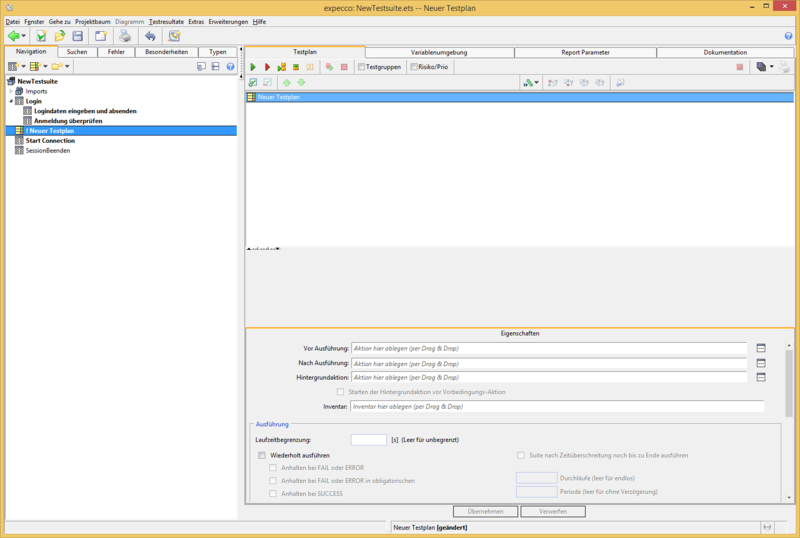
- Create test plan
- Drag to the test plan precondition/postcondition action block
- Before the test plan can be executed correctly, the postcondition of the "Login" action block must be deleted. Please click the red cross at the right side of the input field. Now the test plan can be executed.
Creating Data for Several Users[Bearbeiten]
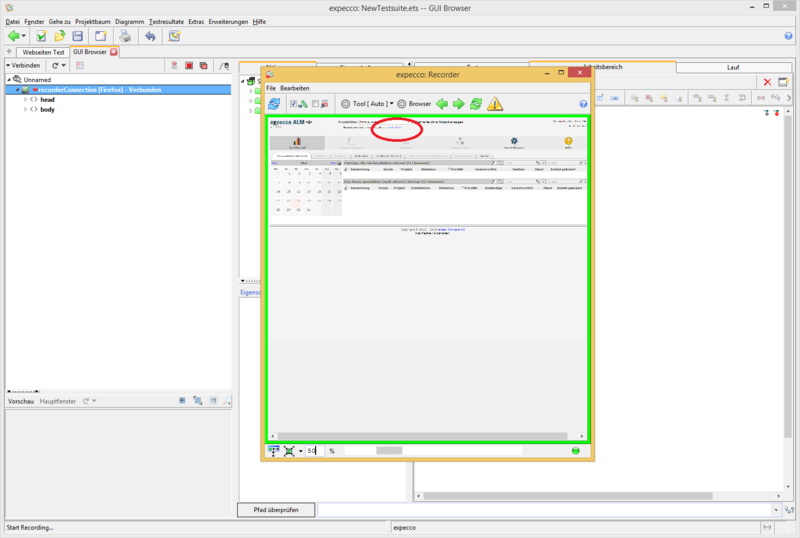
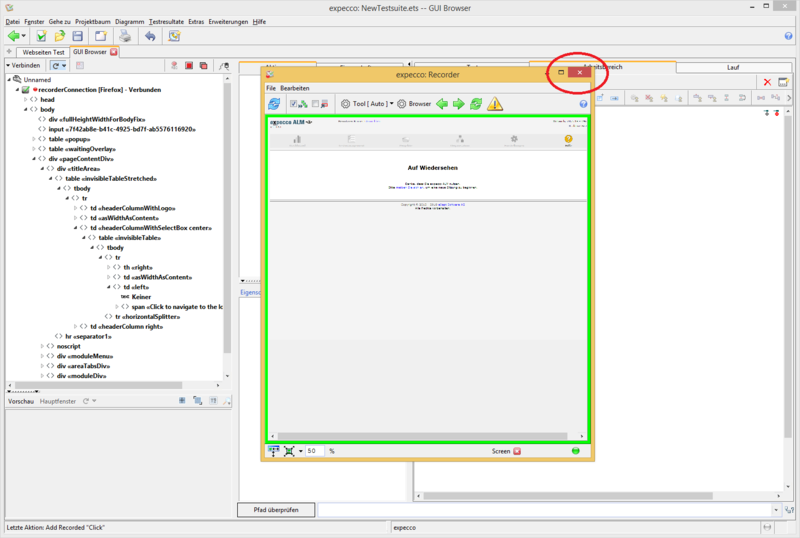
- To check multiple user data, please log out after your login. To do this, record a new sequence in the GUI browser by clicking on the link "Logout".
Connect to the browser as described in Web Test 1 tutorial. Sign in an user in the remote-controlled browser (mmustermann / mm)
- Start recorder
- Click on the link "unsubscribe" in the recorder
- Save sequence in action block "Log off"
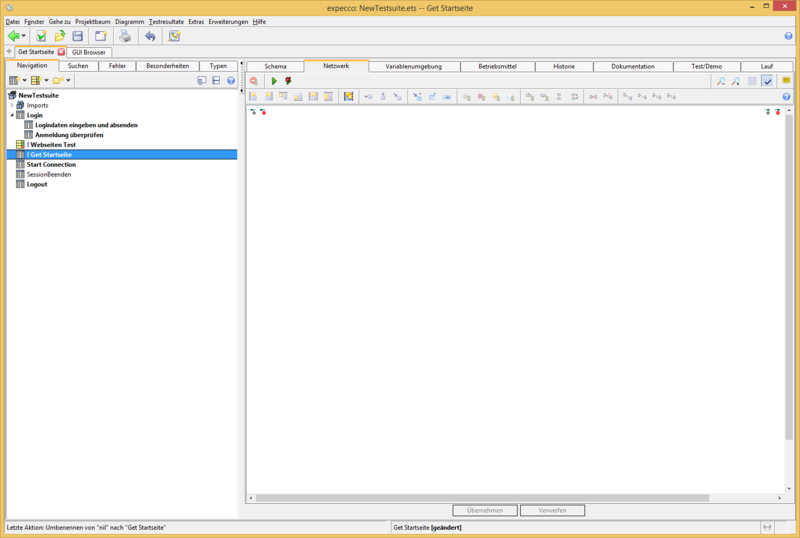
- Go back to the start page with the action block "Get"
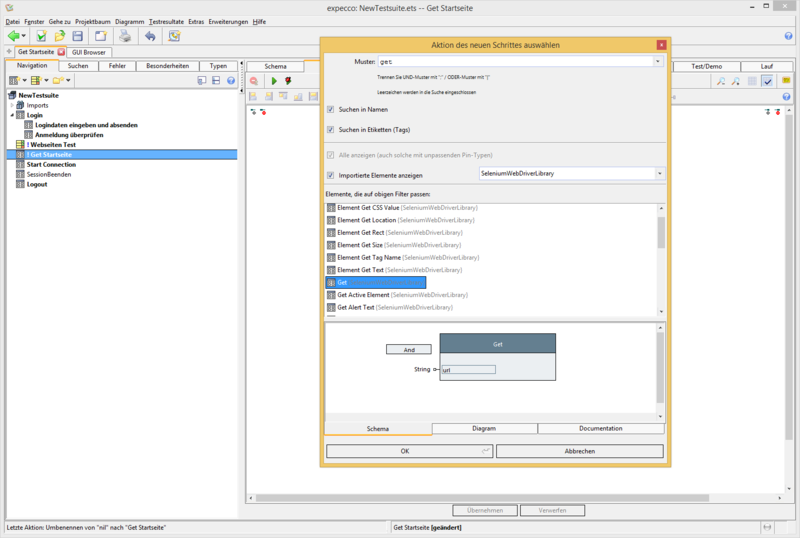
- Create new action block
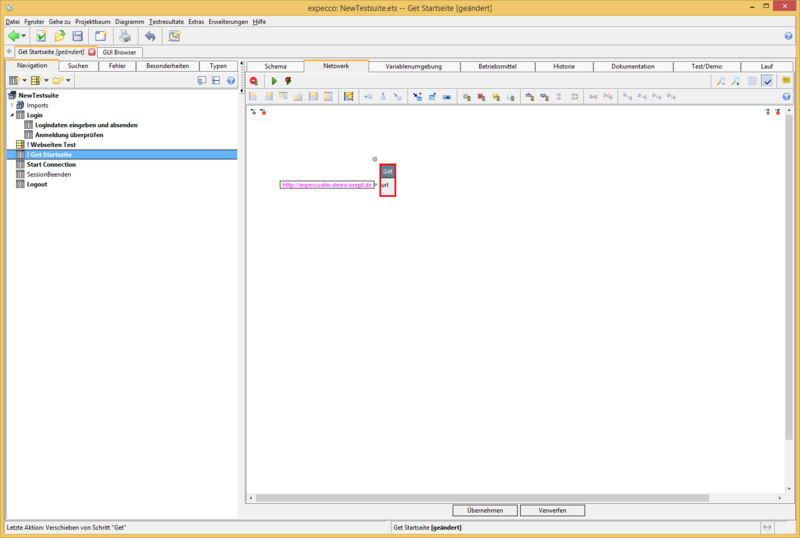
- Insert "Get" action block
- Specify start page URL as "url" parameter
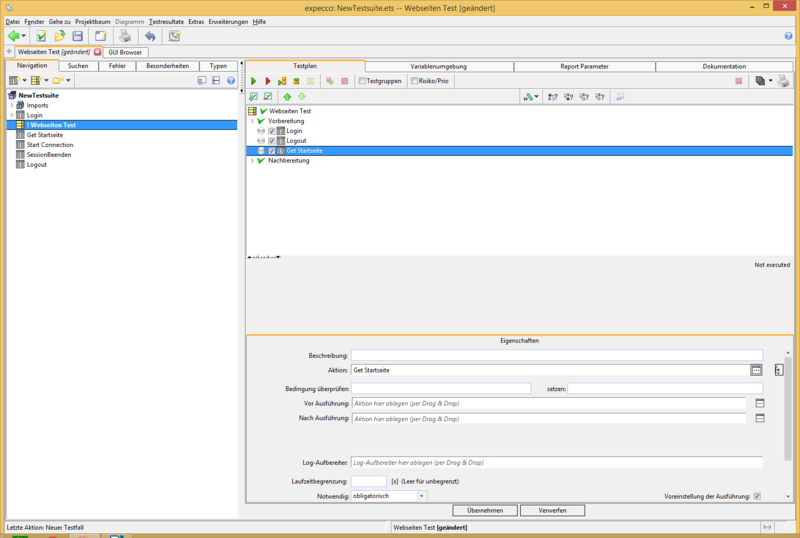
- Insert the action blocks "Logout" and "Get Start Page" into the test plan "Website Test"
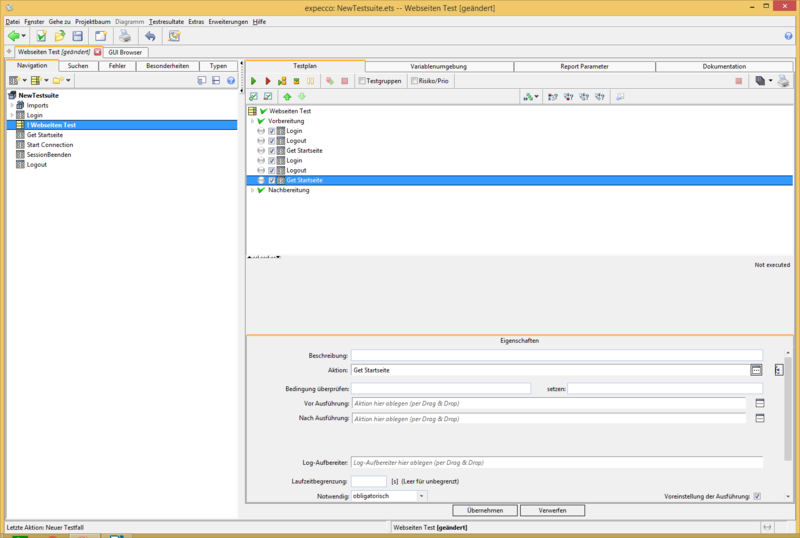
- If you add more login action blocks with other users to the test plan, they would also be tested
